HIT instructions You will be shown an image. The task is to carefully outline objects in the image and to provide a text description of the object. The HIT is completed once you have annotated the required number of objects. The following steps describe how to label an object:
1. Start by pressing the left
mouse button at some point along the boundary of the object.
Important: Do NOT label objects that are already outlined. Your task is to label only new objects. We will delete duplicate labels. Note that
previously labeled objects may appear on the image (those are objects already labeled by other participants).
Please do not label previously labeled objects. |
 |
|||||||
Examples:
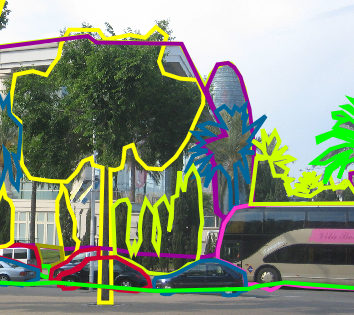
Try to also outline regions like "sky", "building", "road", "sidewalk", "wall", "floor", "ceiling". You should label them as if they were not occluded. It is easier to label them without having to avoid the objects in front. For instance,
We are accepting all the hits for now. But we are forced to delete wrong labels. | ||||||||
Labeling guidelines View the entire image: Make sure that your browser occupies the entire screen and that you scroll to see the entire image. If you label an object on the edge of your browser, make sure to scroll so that the entire object is visible. Follow the object outline: Click on top of the object boundary so that the polygon accurately delineates the object outline. Labeling occluded objects: Sometimes objects will be only partially visible. This is especially true for regions like roads, buildings, etc., which become difficult to label when there are many occlusions. We recommend in these cases to complete the boundary as if they were not occluded. Object naming: Use common English names for objects. Use a name that you think other people are likely to use to describe the same object. You can use several words to describe an object. Example object names: sky, tree, building, road, sidewalk, person, car, chair. |
||||||||
Advanced features Delete segments: If you want to delete one segment
of the polygon before finishing the polygon, press the Modify control points: Once you have finished a polygon, you can modify individual control points. If you click on top of the polygon, the control points will appear. You can select one of the control points (hold the left mouse button down) and move it to a new position. Then click anywhere in the image to deselect the polygon. This will also save the modified polygon. Delete entire polygon: Select the polygon. You will have the option to delete the polygon. You can only edit polygons that you have entered before. You can not delete polygons by other users. | ||||||||
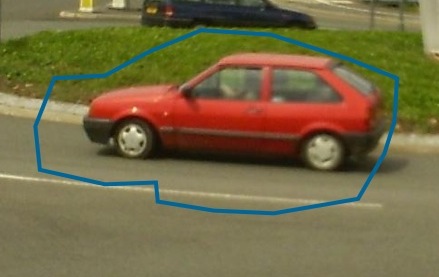 Wrong: this is a bad annotation and we will delete it.
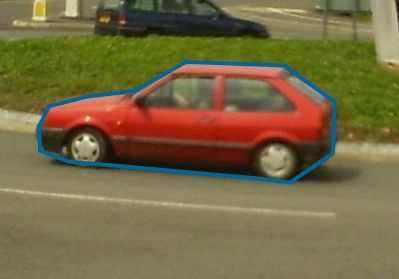 Good: the lines follow the boundary closelly.
 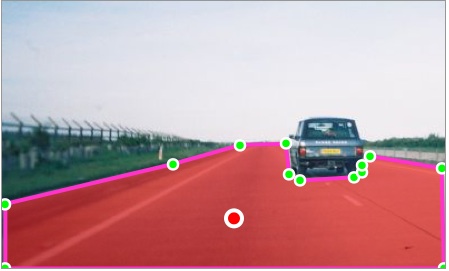 Wrong: you do not need to avoid the car. This makes labeling for you harder than what we need.
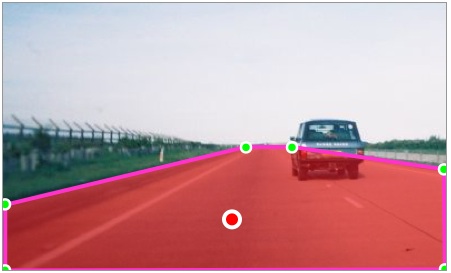 Good: the lines follow the boundary of the road as if the car was not there. It is better for us and easier to label too.